Words do no justice when it comes to sharing the experiences you have when traveling. For those caught up in wanderlust, you know exactly what I mean. Your pictures will tell a story, and I promise, it doesn’t take professional skills. For those new to the DSLR world, I will share some simple concepts that helped me take the pictures I wanted (or at least understand what all that lingo meant on my camera).
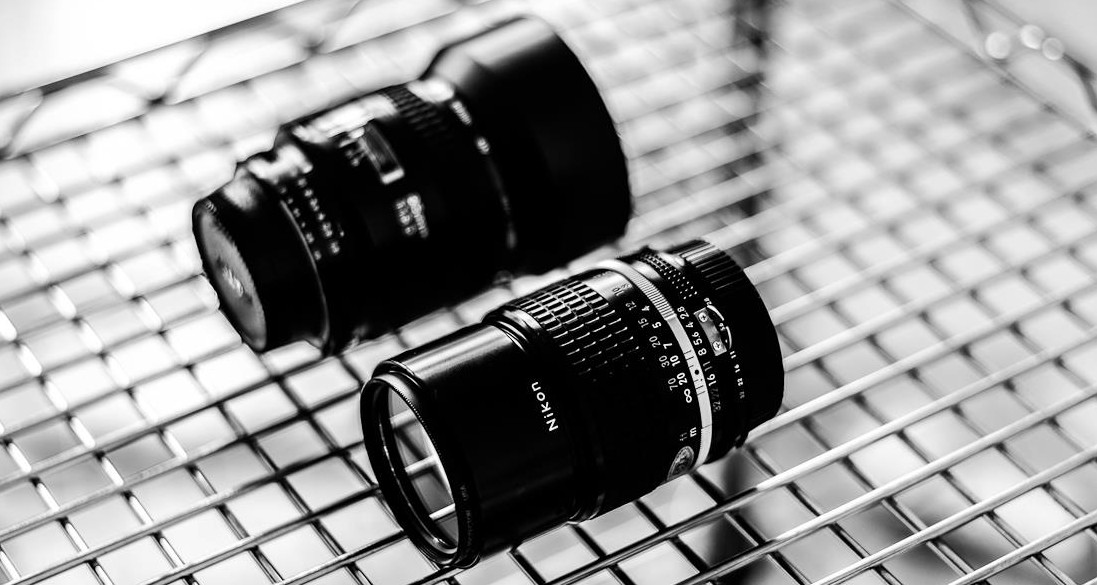
I’m a proud owner of a Nikon (though I’m starting to favor Canon) and purchasing this camera was one of the best investments I’d made for my travels. Understand how to use the few functions below and you won’t have any problems! It is easy to use the “automatic” function, but once in a while, switch it to “manual” and get a little creative.

Aperture
Light is your best friend. It will make or break a picture. If you look into your lens and twist side to side, you will see the hole become wide and then small. This is what is known to be your aperture. The aperture is the amount of light that is let into your camera for you to take a picture. The wider the opening, the more light allowed into your lens. This is what helps brighten your pictures. The smaller the hole becomes, the less light you will capture. This is measured by the f that you see on your camera. The smaller the number (f1.2) the bigger your hole gets; allowing in more natural light. The bigger your number (f7.4) the less light you get. Easy?
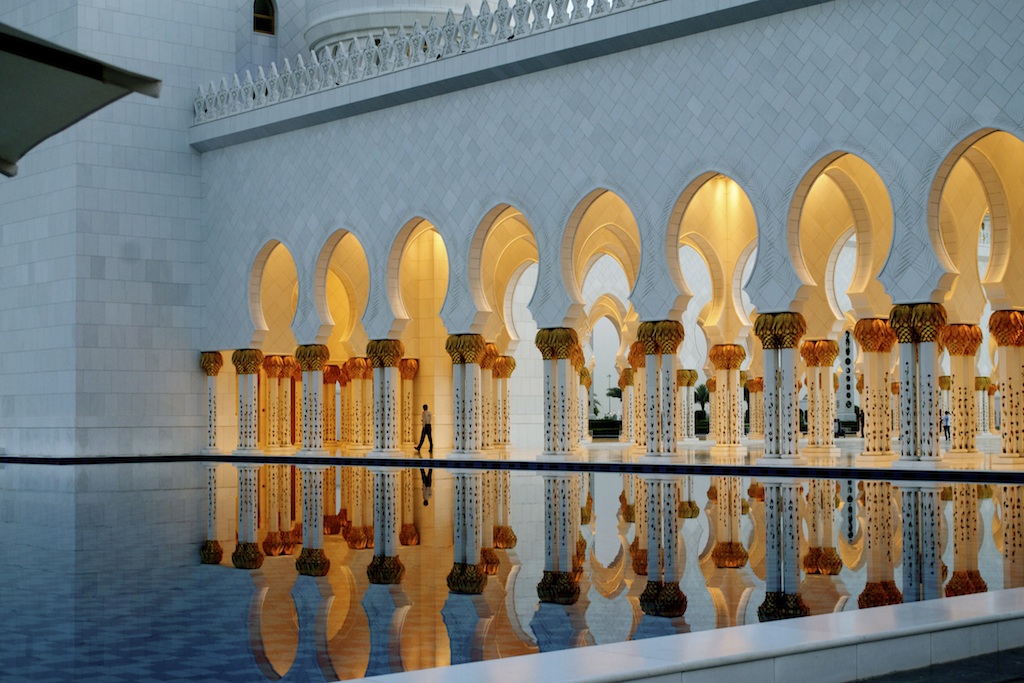
Now why does this matter when taking pictures? Your surroundings matter. I took the picture above and below in Abu Dhabi of the Sheikh Zayed Grand Mosque at dusk with an aperture of f9. Because the sun was setting, it was easy to capture in natural light. With a higher aperture, the hole narrowed to let just enough light into the lens for a natural glow. Too much light can wash out the picture making it look blinding.
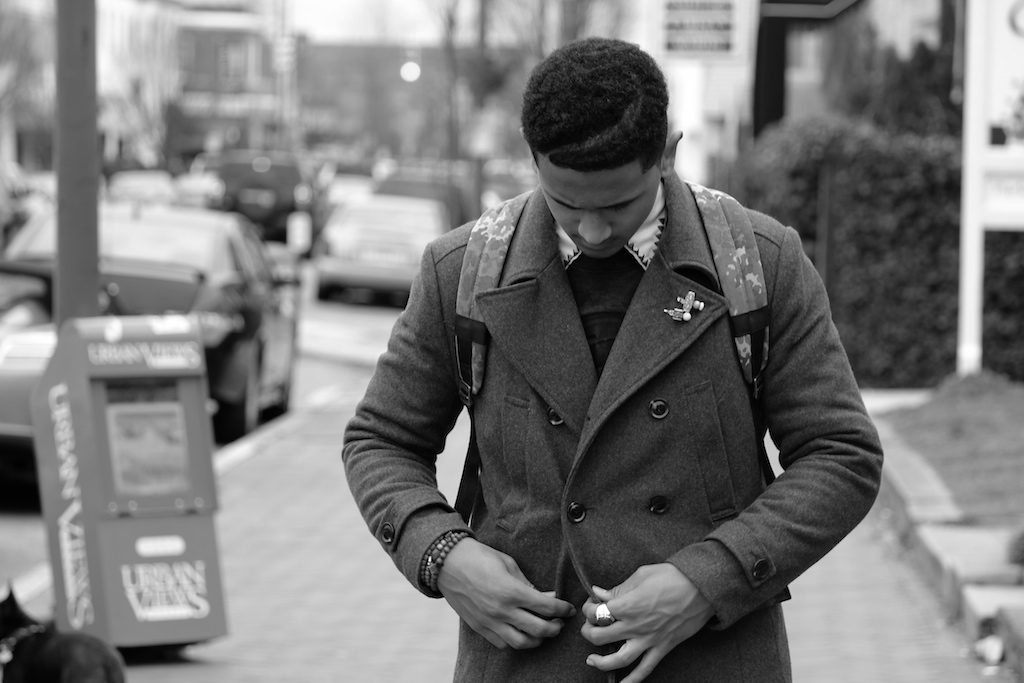
This is also how you create depth. You know how people create those pictures with a blurry background but a focused object? Aperture. The bigger the opening (low aperture) the more focused your subject becomes, leaving the background to blur. Below is a shot of my brother while road tripping up to New York City from Florida. We stopped in Richmond, Virginia.
ISO sensitivity
Always stay low! The higher the ISO, the more noise your picture will have. You don’t want that grainy and not-so-smooth looking image. The only time you should ever use a high ISO is if you can’t get enough light in your frame. This should be your last resort. Try opening up your lens or create a higher aperture. Try all options before messing with this feature. Natural light is always better. The picture above of the mosque has an ISO of 1/100. This can range from 100-1200.
Exposure Time
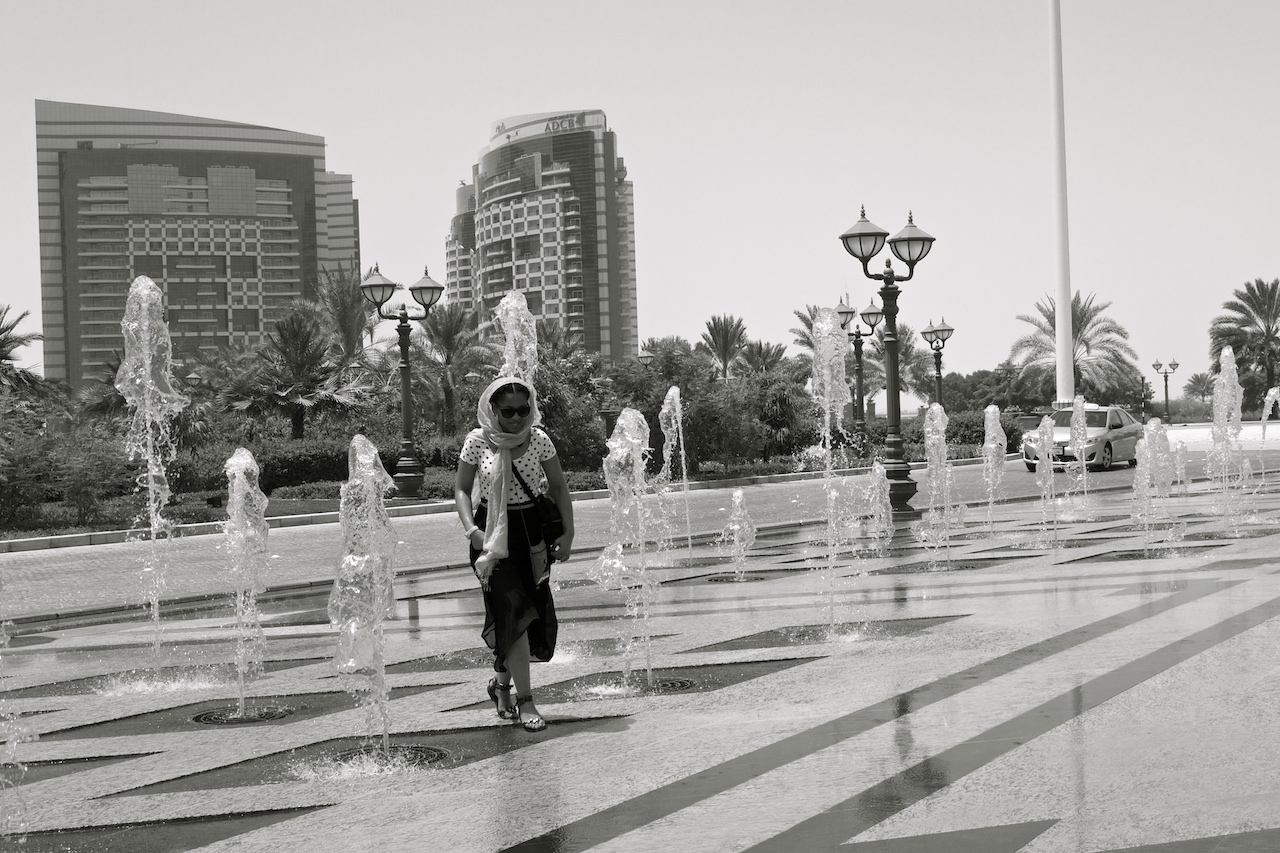
Need to capture the bulls run in Spain? Or maybe the water falling at Dunn’s River in Jamaica? The shutter speed (exposure time) in your camera is what can capture the water by the droplet or by the flow, making the water look like silk. The shutter is set by seconds. Anything set at a high shutter speed (1/500) helps you stop your image in motion. This way you can catch someone in mid air when jumping. The lower the shutter speed (1/2) the more blurred the picture becomes, making the whole figure blend into one streak. The picture below was taken in front of the Emirates Palace. Notice the water sprouting up from the fountain on the ground. You can see the shape of the water fall instead of a blurry streak. This image is using a higher shutter speed.
Filter and Edit
Now comes the fun part. I haven’t bought any expensive programs, so if you want to go on the cheaper side (pretty much free), here are some good softwares to use for photo editing:
- GIMP
- Paint.NET
- Chasys Drew IES
- PhotoScape
- Picasa
- Seashore
- For my Mac users – iPhoto can get the job done! Don’t underestimate.
Featured photograph is from Trust Your Photographer
This story was curated by Aylin M.


